Stardew Valley Community Center Bundles Checklist (Every Item, Every Reward)
The Stardew Valley Community Center is the centerpiece of Pelican Town, and completing every bundle is one of the most satisfying long-term goals in the game. But with 30 bundles spread across 6 rooms — and dozens of items that disappear when their season ends — keeping track of what you need is genuinely overwhelming. This complete Stardew Valley Community Center bundles checklist covers every single item, every reward, and the smartest order to tackle them.
Each bundle in the Community Center requires a specific set of items: crops, fish, foraged goods, minerals, or animal products. Donate them at the Community Center to unlock the bundle, claim its reward, and chip away at restoring the whole building. Complete all 6 rooms and Pelican Town transforms — the beach bridge reappears, the bus to the Calico Desert starts running, and the Greenhouse drops onto your farm.
The 6 Community Center Rooms at a Glance
| Room | Bundles | Completion Reward |
|---|---|---|
| Crafts Room | 6 | Bridge repair (beach tide pools) |
| Pantry | 6 | Greenhouse on your farm |
| Fish Tank | 6 | Glittering Boulder removed |
| Boiler Room | 3 | Minecarts repaired |
| Bulletin Board | 5 | +2 friendship hearts with all townspeople |
| Vault | 4 | Bus repair (Calico Desert access) |
How to Use This Bundles Checklist
Bundles aren't tied to a season, but many of their *items* are. Miss a Spring forageable like Wild Horseradish and you wait an entire year. Miss the Winter 15-17 Night Market and you wait again. So a real bundles checklist isn't just a shopping list — it's a calendar of deadlines.
Three rules to follow:
- Mark seasonal items first. Anything tied to a specific season or weather goes to the top of your priority list the moment that season starts.
- Track partial progress. Some bundles only need a subset of the listed items (Crab Pot Bundle: 5 of 10, Exotic Foraging: 5 of 8), so know what you've already donated.
- Plan around the reward. Greenhouse, Bus, and Minecarts each change how you play — pick the room that fits your current goals.
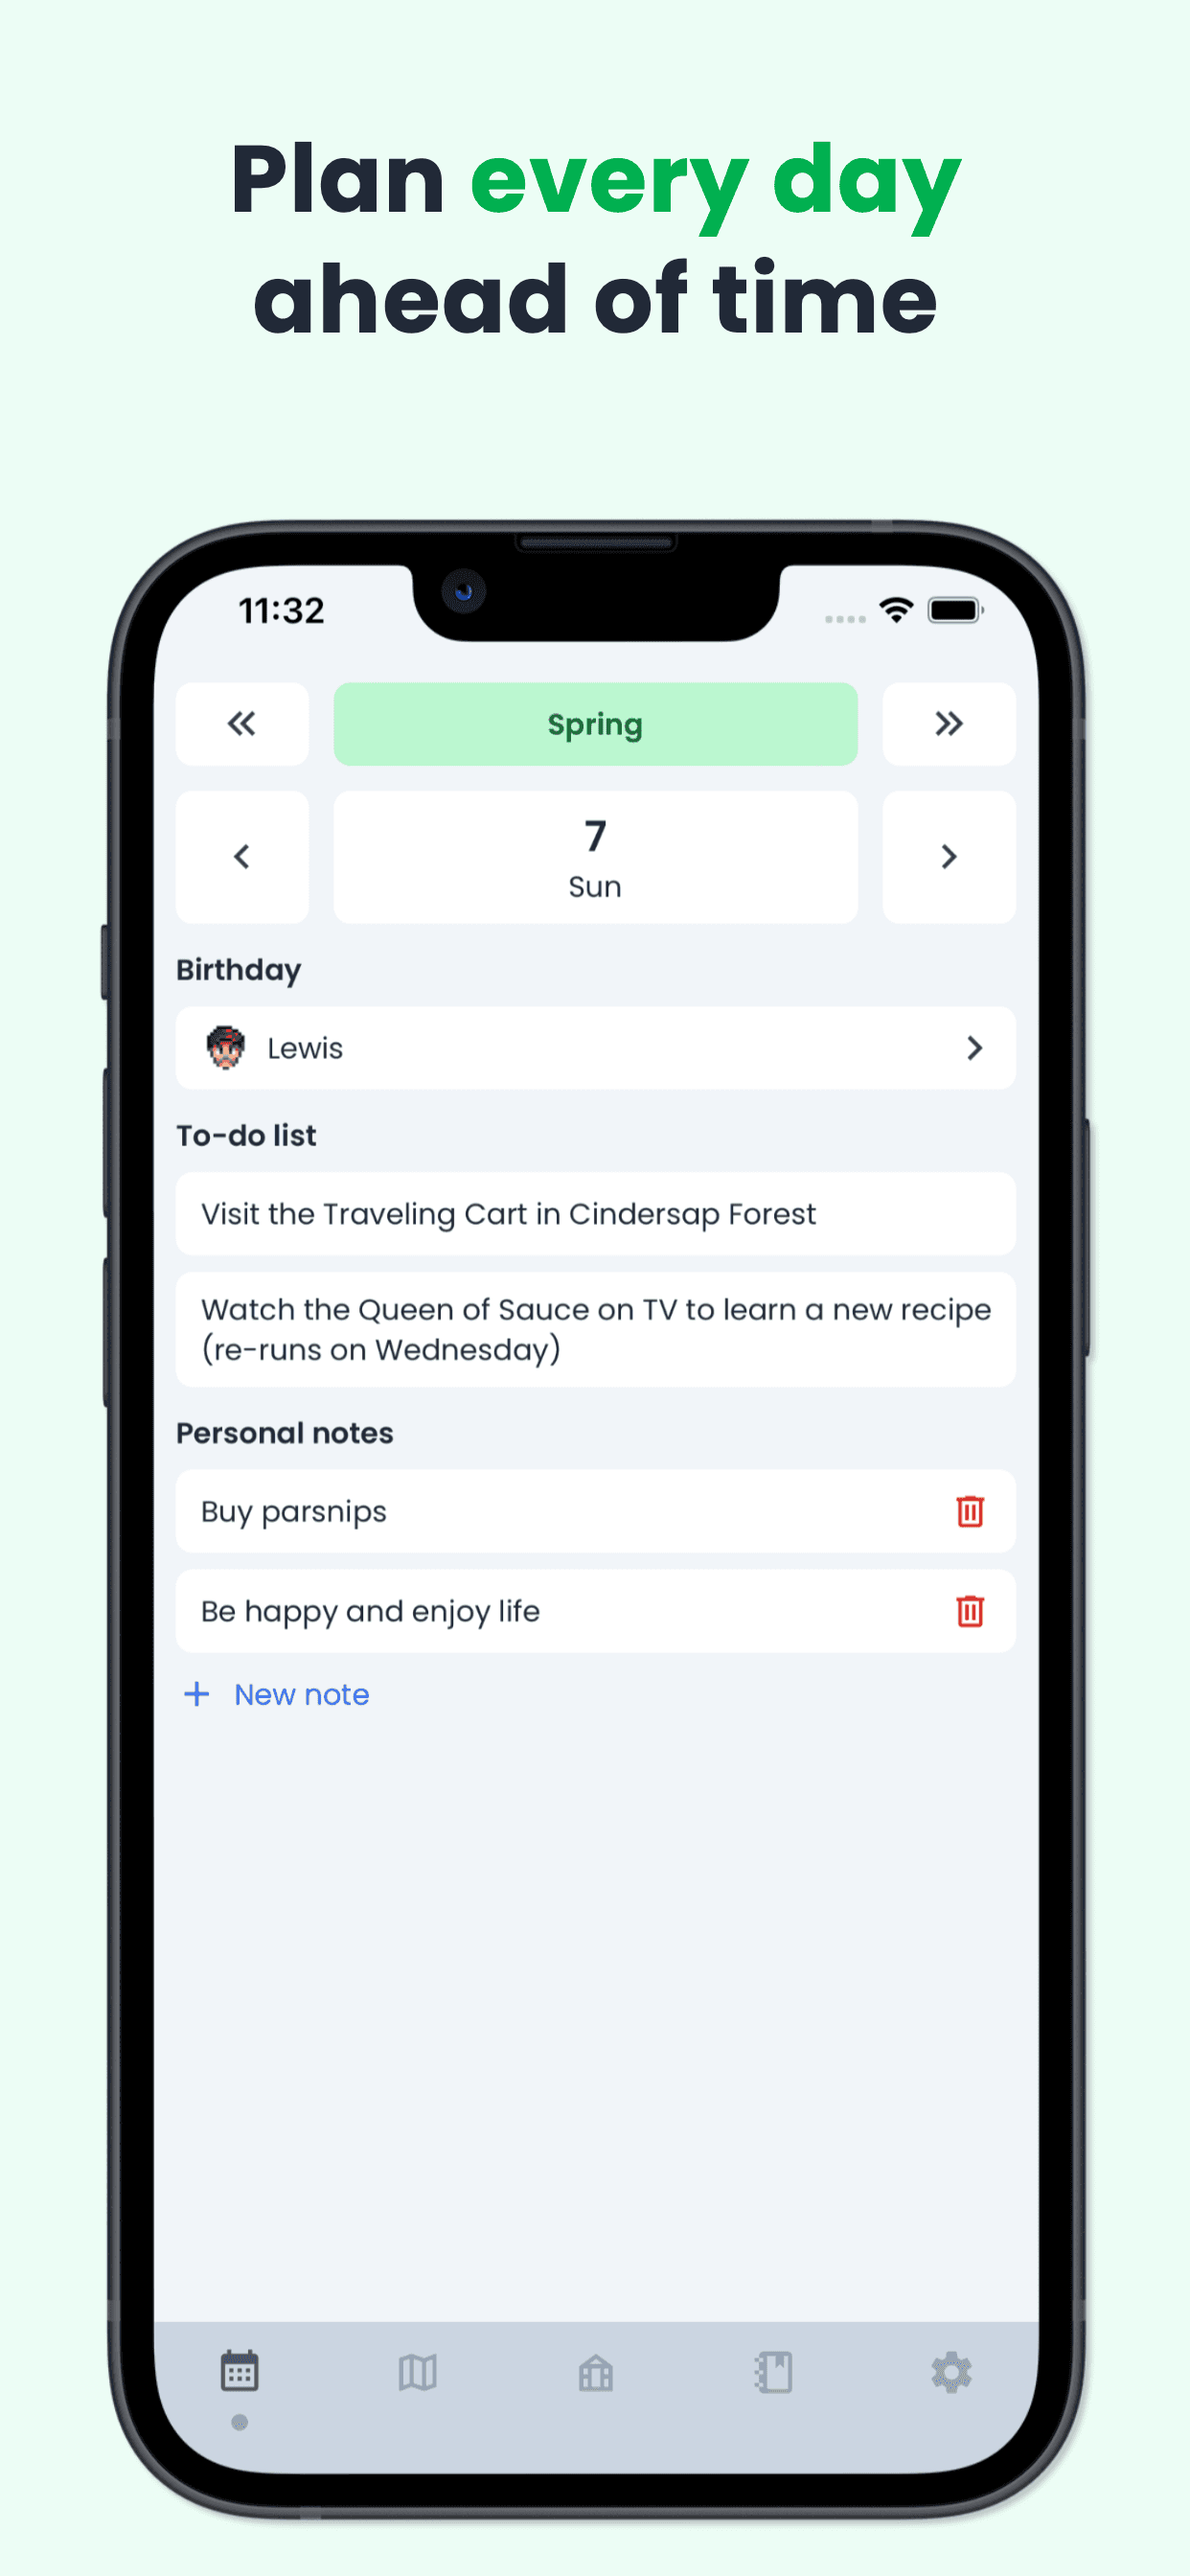
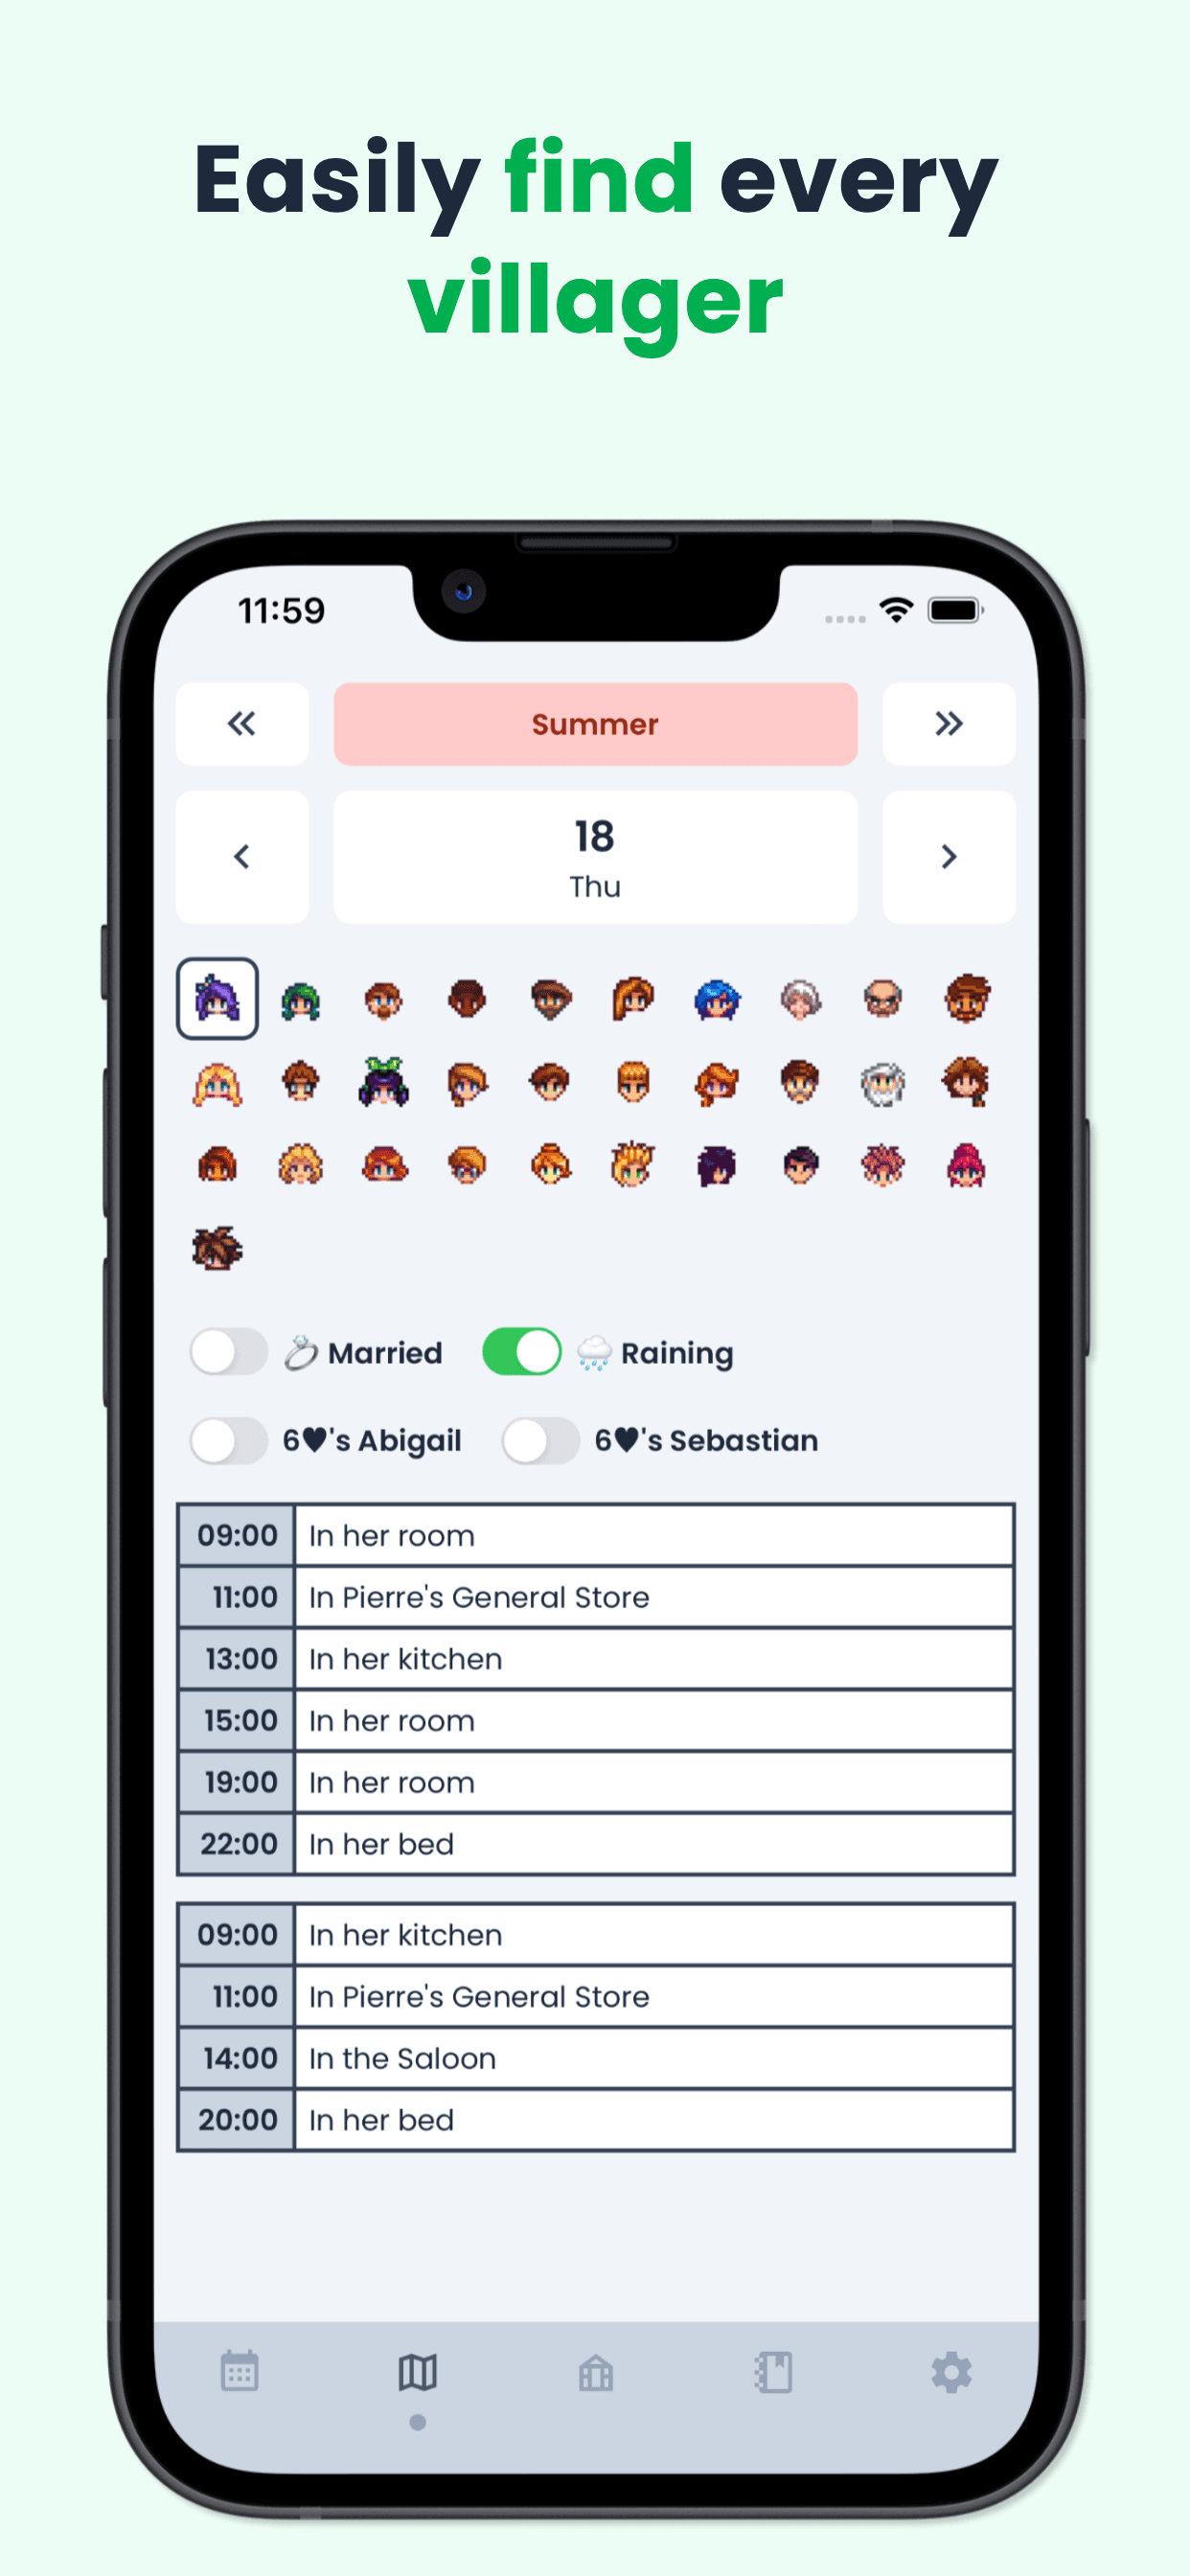
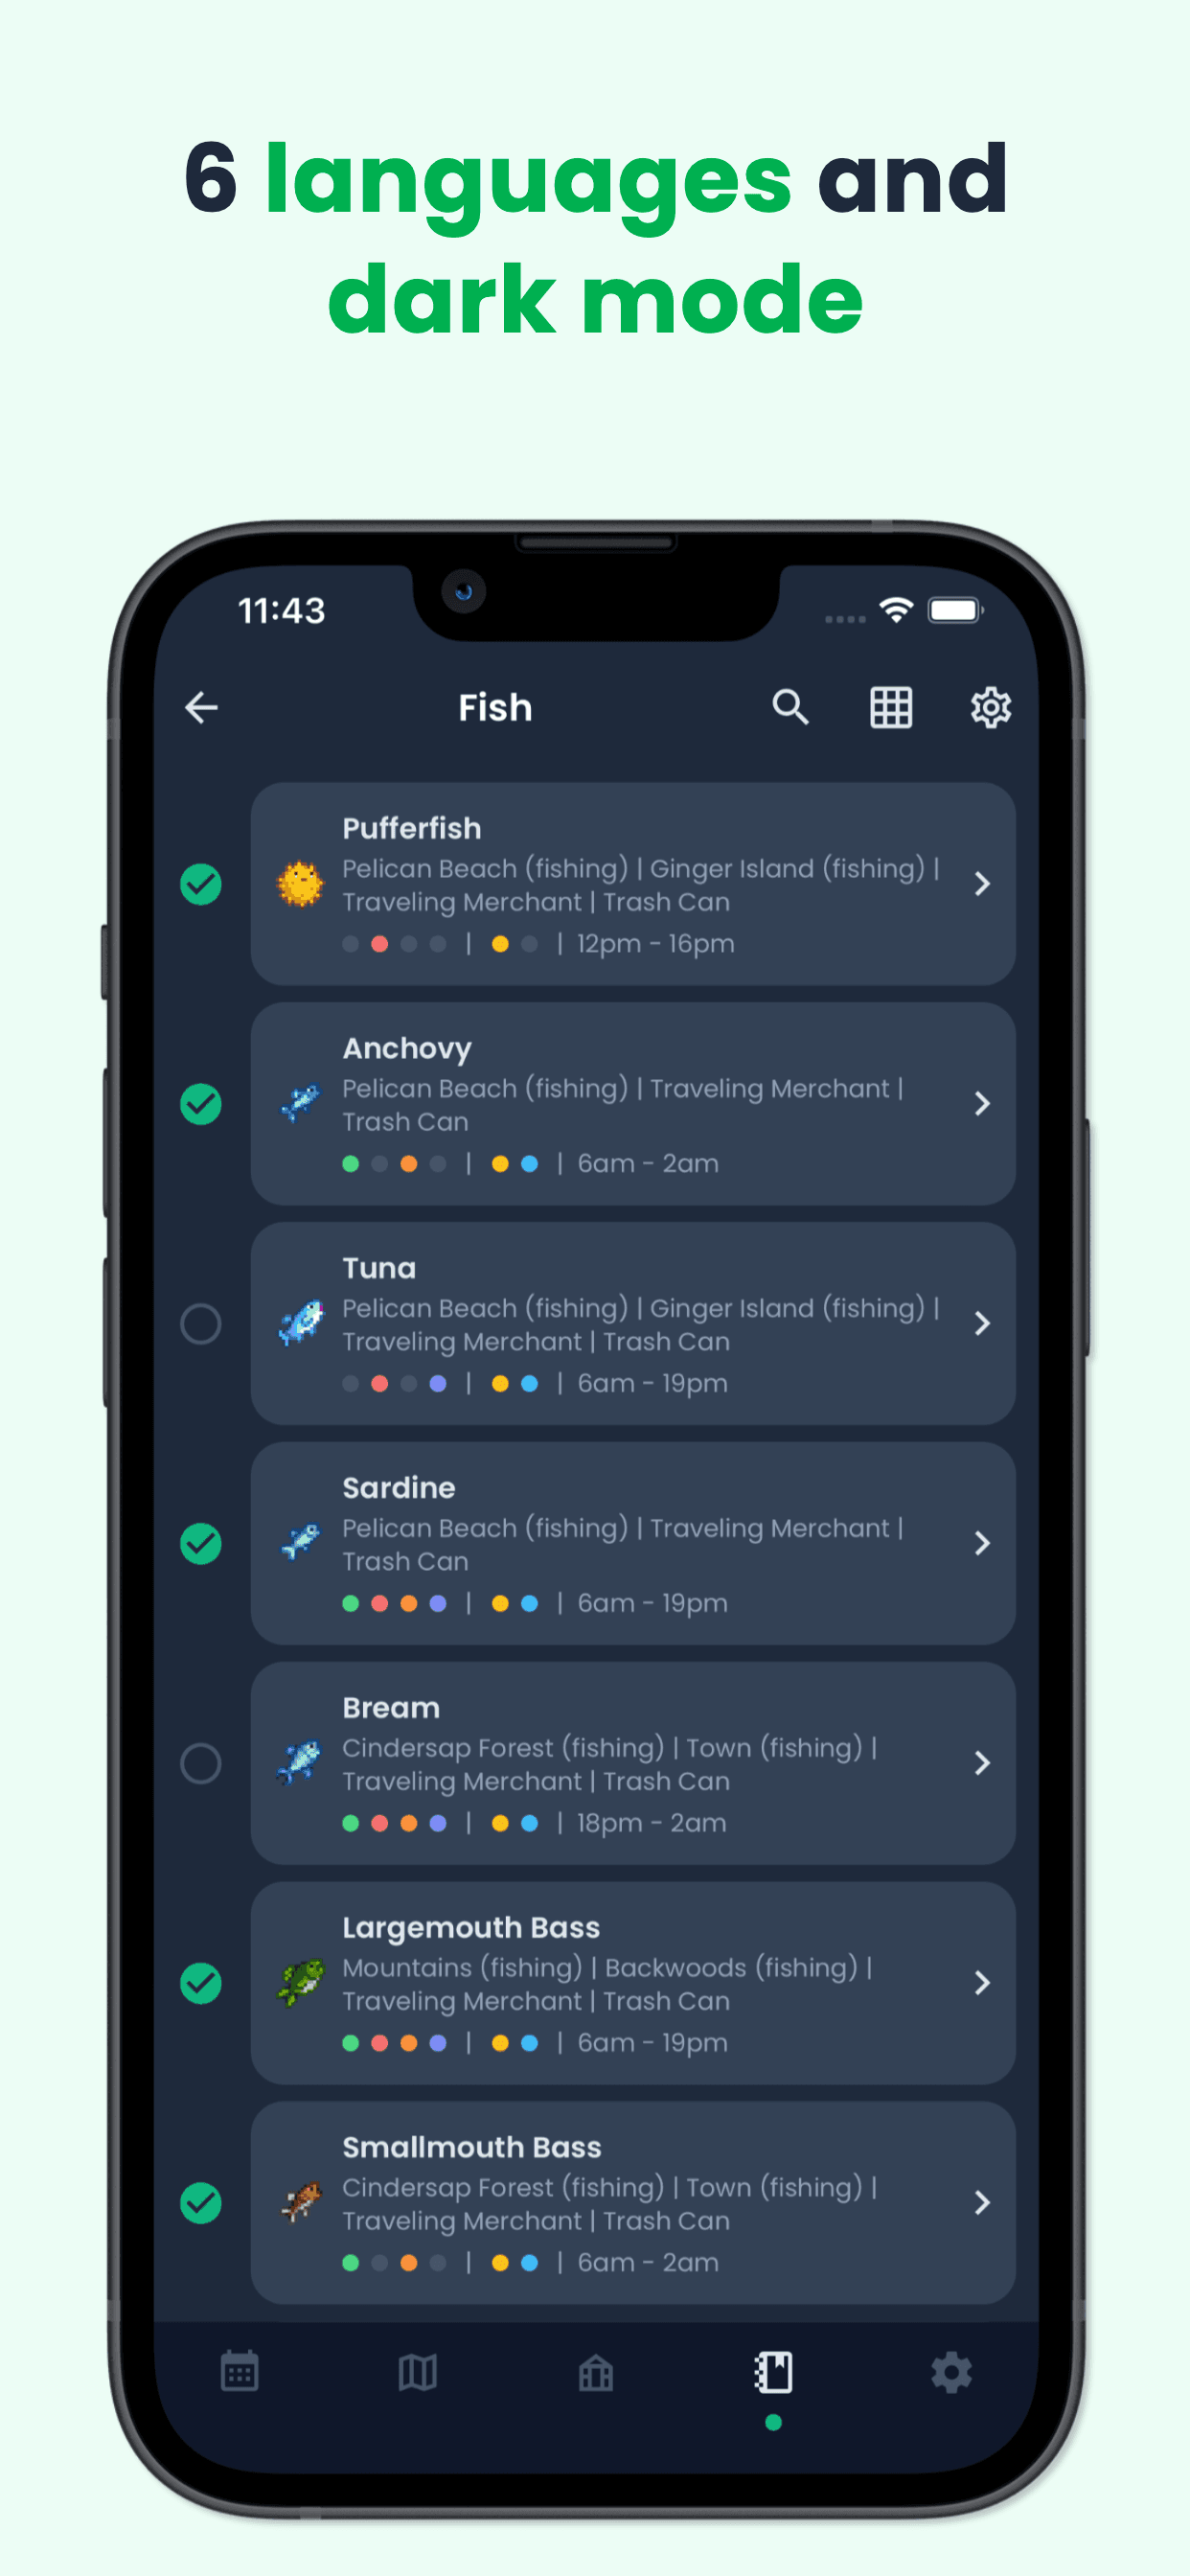
The fastest way to do all three is the Stardew Valley Tracker app, which checks off items as you donate them, alerts you when a seasonal window is about to close, and works fully offline. More on that at the end — here's the full checklist first.
Crafts Room Bundle Checklist
The Crafts Room is all about foraging and natural resources. Completing all 6 bundles repairs the broken bridge on the beach, opening up the tide pools where you'll find Coral, Sea Urchins, and Rainbow Shells — items used in other bundles and gifts.
Spring Foraging Bundle
- Wild Horseradish
- Daffodil
- Leek
- Dandelion
Reward: Spring Seeds (30)
Summer Foraging Bundle
- Grape
- Spice Berry
- Sweet Pea
Reward: Summer Seeds (30)
Fall Foraging Bundle
- Common Mushroom
- Wild Plum
- Hazelnut
- Blackberry
Reward: Fall Seeds (30)
Winter Foraging Bundle
- Winter Root (dig artifact spots in the snow)
- Crystal Fruit
- Snow Yam (dig artifact spots in the snow)
- Crocus
Reward: Winter Seeds (30)
Construction Bundle
- Wood (198 total — two stacks of 99)
- Stone (99)
- Hardwood (10) — chop Large Stumps on your farm, or harvest in the Secret Woods with a Steel Axe
Reward: Charcoal Kiln
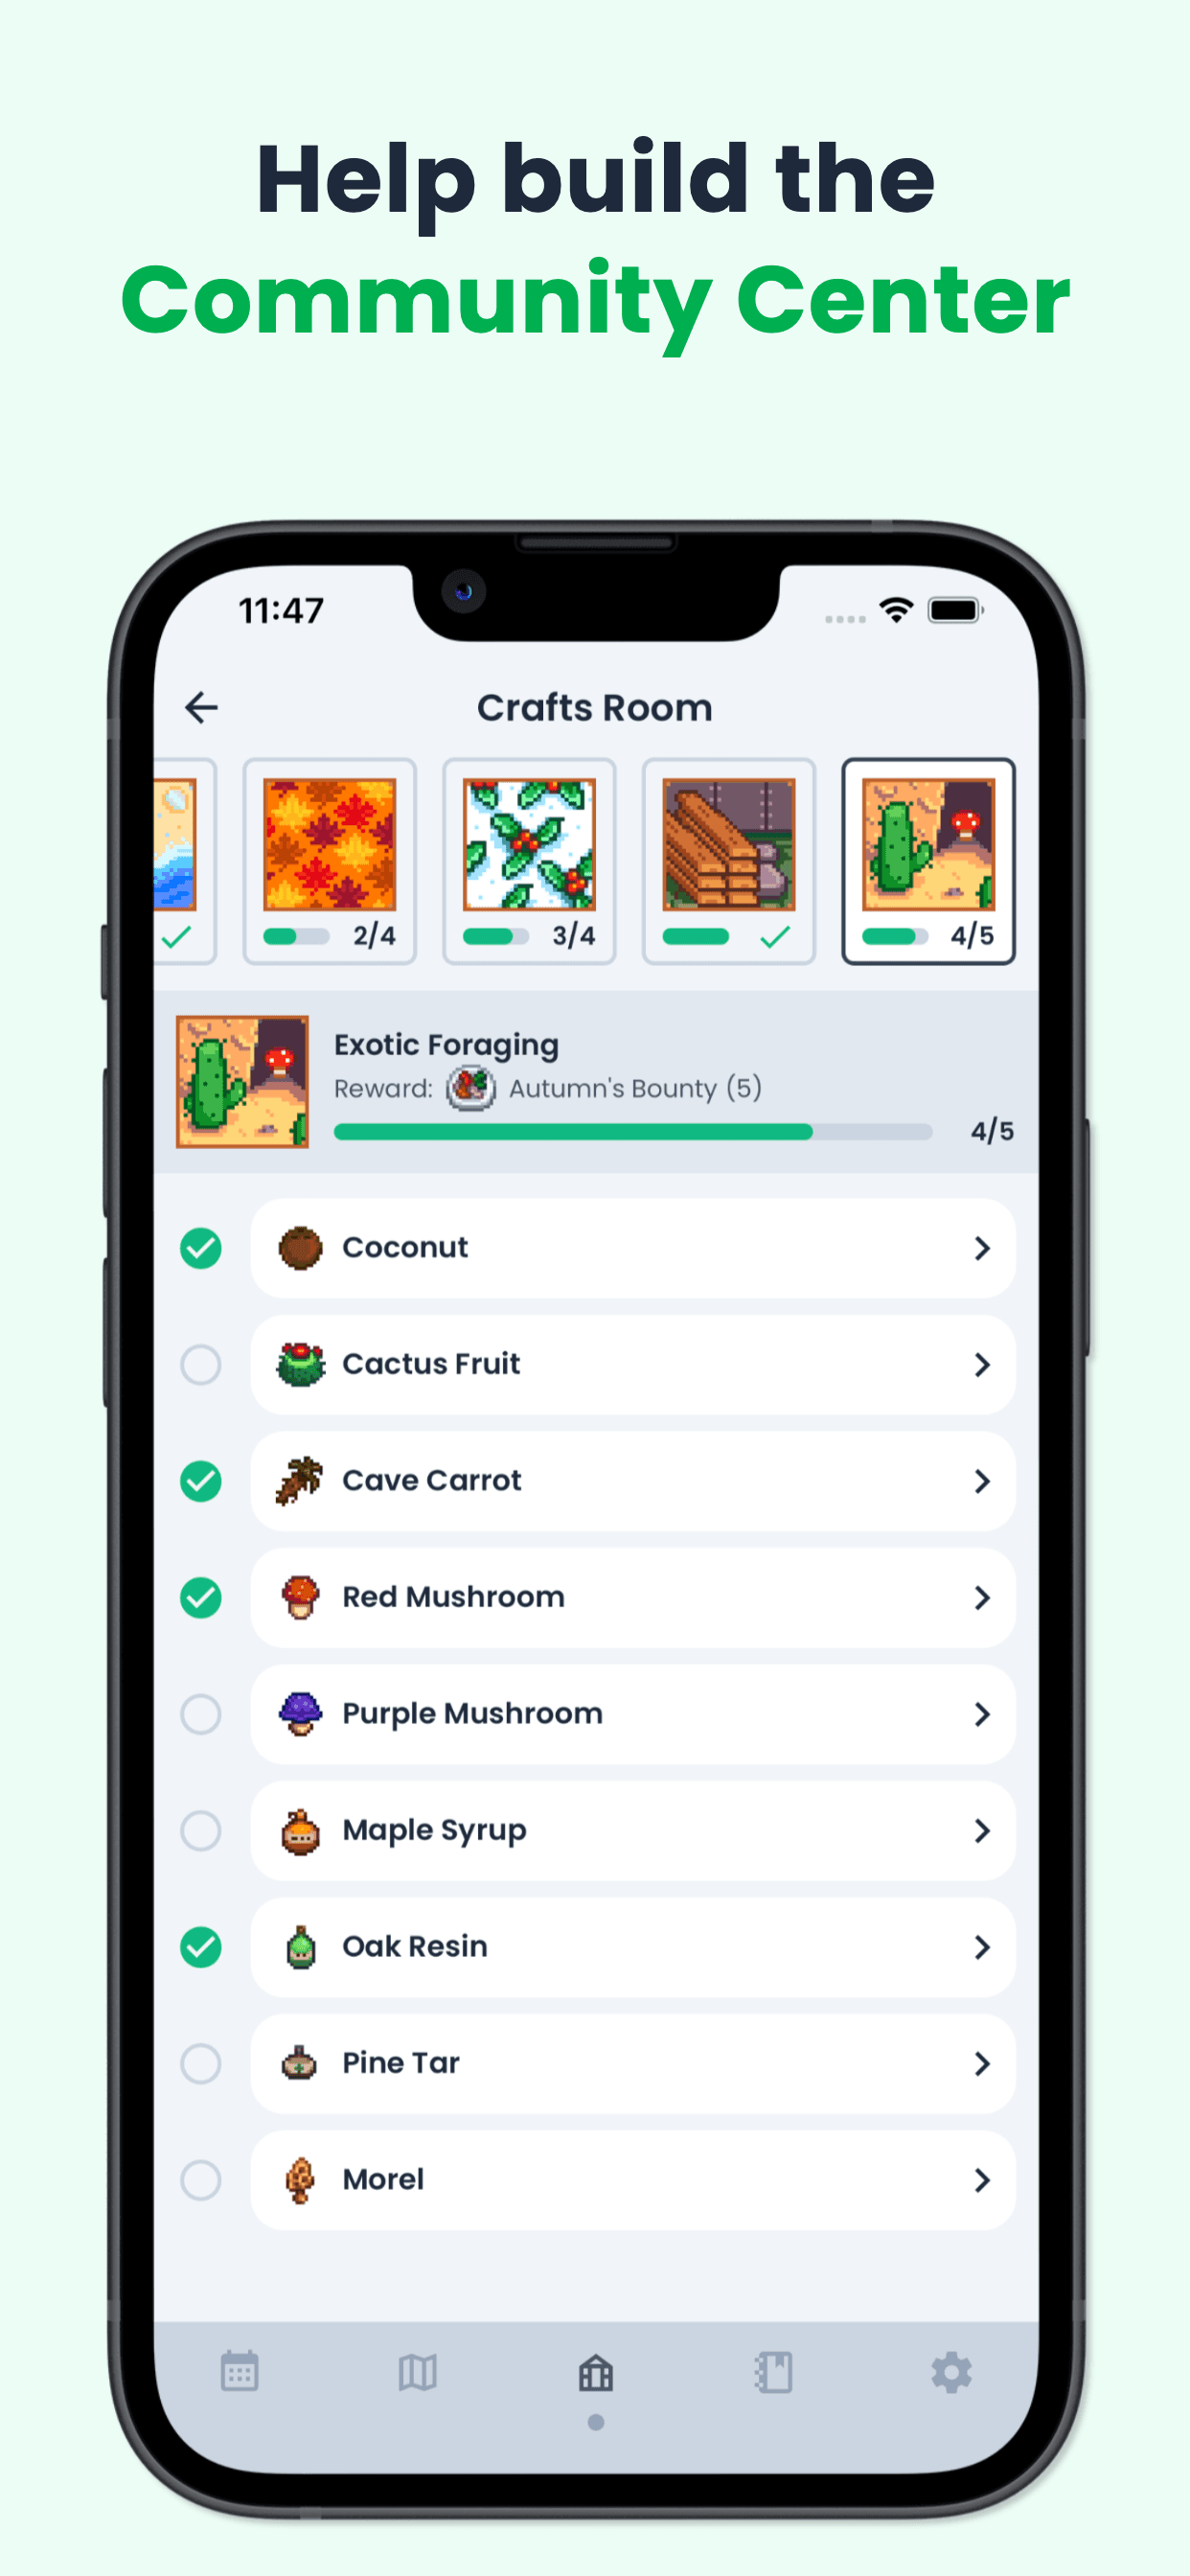
Exotic Foraging Bundle (5 of 8 items)
- Coconut (Calico Desert)
- Cactus Fruit (Calico Desert)
- Cave Carrot (Mines)
- Red Mushroom (Mines or mushroom-configured Farm Cave)
- Purple Mushroom (deep Mines)
- Maple Syrup (Maple tree + Tapper)
- Oak Resin (Oak tree + Tapper)
- Pine Tar (Pine tree + Tapper)
Reward: Autumn's Bounty (5)
Crafts Room pro tip: Place Tappers on Maple, Oak, and Pine trees on Day 1 — they take several days to produce, and the syrups/resins/tar are the most commonly delayed Exotic Foraging items.
Pantry Bundle Checklist
The Pantry is arguably the most valuable room in the Community Center, because its reward is the Greenhouse — a building where you can grow any crop from any season year-round, regardless of weather. Plant Ancient Fruit or Starfruit here and you have a perpetual money machine.
Spring Crops Bundle
- Parsnip
- Green Bean
- Cauliflower
- Potato
Reward: Speed-Gro (20)
Summer Crops Bundle
- Tomato
- Hot Pepper
- Blueberry
- Melon
Reward: Quality Sprinkler
Fall Crops Bundle
- Corn
- Eggplant
- Pumpkin
- Yam
Reward: Bee House
Quality Crops Bundle
- 5× Gold-quality Parsnip
- 5× Gold-quality Melon
- 5× Gold-quality Pumpkin
- 5× Gold-quality Corn
Reward: Preserves Jar
Animal Bundle
- Large Milk (high-friendship Cow)
- Large Brown Egg (high-friendship Brown Chicken)
- Large White Egg (high-friendship White Chicken)
- Large Goat Milk (Big Barn required)
- Wool (Sheep, Big Barn)
- Duck Egg (Big Coop)
Reward: Cheese Press
Artisan Bundle
- Truffle Oil (Truffle from Pig + Oil Maker)
- Cloth (Wool in a Loom)
- Goat Cheese
- Cheese
- Honey (Bee House near flowers)
- Jelly (any fruit in a Preserves Jar)
- Apple
- Apricot
- Orange
- Peach
- Pomegranate
- Cherry
Reward: Keg
Pantry pro tip: Plant Apple, Apricot, Orange, Peach, Pomegranate, and Cherry trees as early as you can afford the saplings — fruit trees take 28 in-game days to mature, so an early planting is the difference between finishing the Artisan Bundle in Year 1 vs Year 2.
Fish Tank Bundle Checklist
The Fish Tank is the hardest room for one reason: nearly every fish has a specific season, time, and sometimes weather requirement. Miss the window and you wait. Here's exactly what to catch and when.
River Fish Bundle
- Sunfish — River, 6am–7pm, Spring & Summer
- Catfish — River, 6am–12am, Spring & Fall, rainy days only
- Shad — River, 9am–2am, Spring/Summer/Fall
- Tiger Trout — River, 6am–7pm, Fall & Winter
Reward: Bait (30)
Lake Fish Bundle
- Largemouth Bass — Mountain Lake, 6am–7pm, all year
- Carp — Mountain Lake or Secret Woods, any time, all year
- Bullhead — Mountain Lake, any time, all year
- Sturgeon — Mountain Lake, 6am–7pm, Summer & Winter
Reward: Dressed Spinner
Ocean Fish Bundle
- Sardine — Ocean, 6am–7pm, Spring/Fall/Winter
- Tuna — Ocean, 6am–7pm, Summer & Winter
- Red Snapper — Ocean, 6am–7pm, Summer & Fall
- Tilapia — Ocean, 6am–2pm, Summer & Fall
Reward: Warp Totem: Beach (5)
Night Fishing Bundle
- Walleye — River/Forest Pond/Mountain Lake, 12pm–2am, Fall, rainy nights only
- Bream — River, 6pm–2am, all year
- Eel — Ocean, 4pm–2am, Spring & Fall, rainy only
Reward: Small Glow Ring
Crab Pot Bundle (5 of 10 items)
Place Crab Pots in saltwater for Ocean creatures and freshwater for River/Lake creatures:
- Lobster (Ocean)
- Crayfish (Freshwater)
- Crab (Ocean)
- Cockle (Beach foraging)
- Mussel (Beach foraging)
- Shrimp (Ocean)
- Snail (Freshwater)
- Clam (Beach foraging)
- Oyster (Beach foraging)
- Periwinkle (Freshwater)
Reward: Crab Pots (3)
Specialty Fish Bundle (you only need to donate the listed 4)
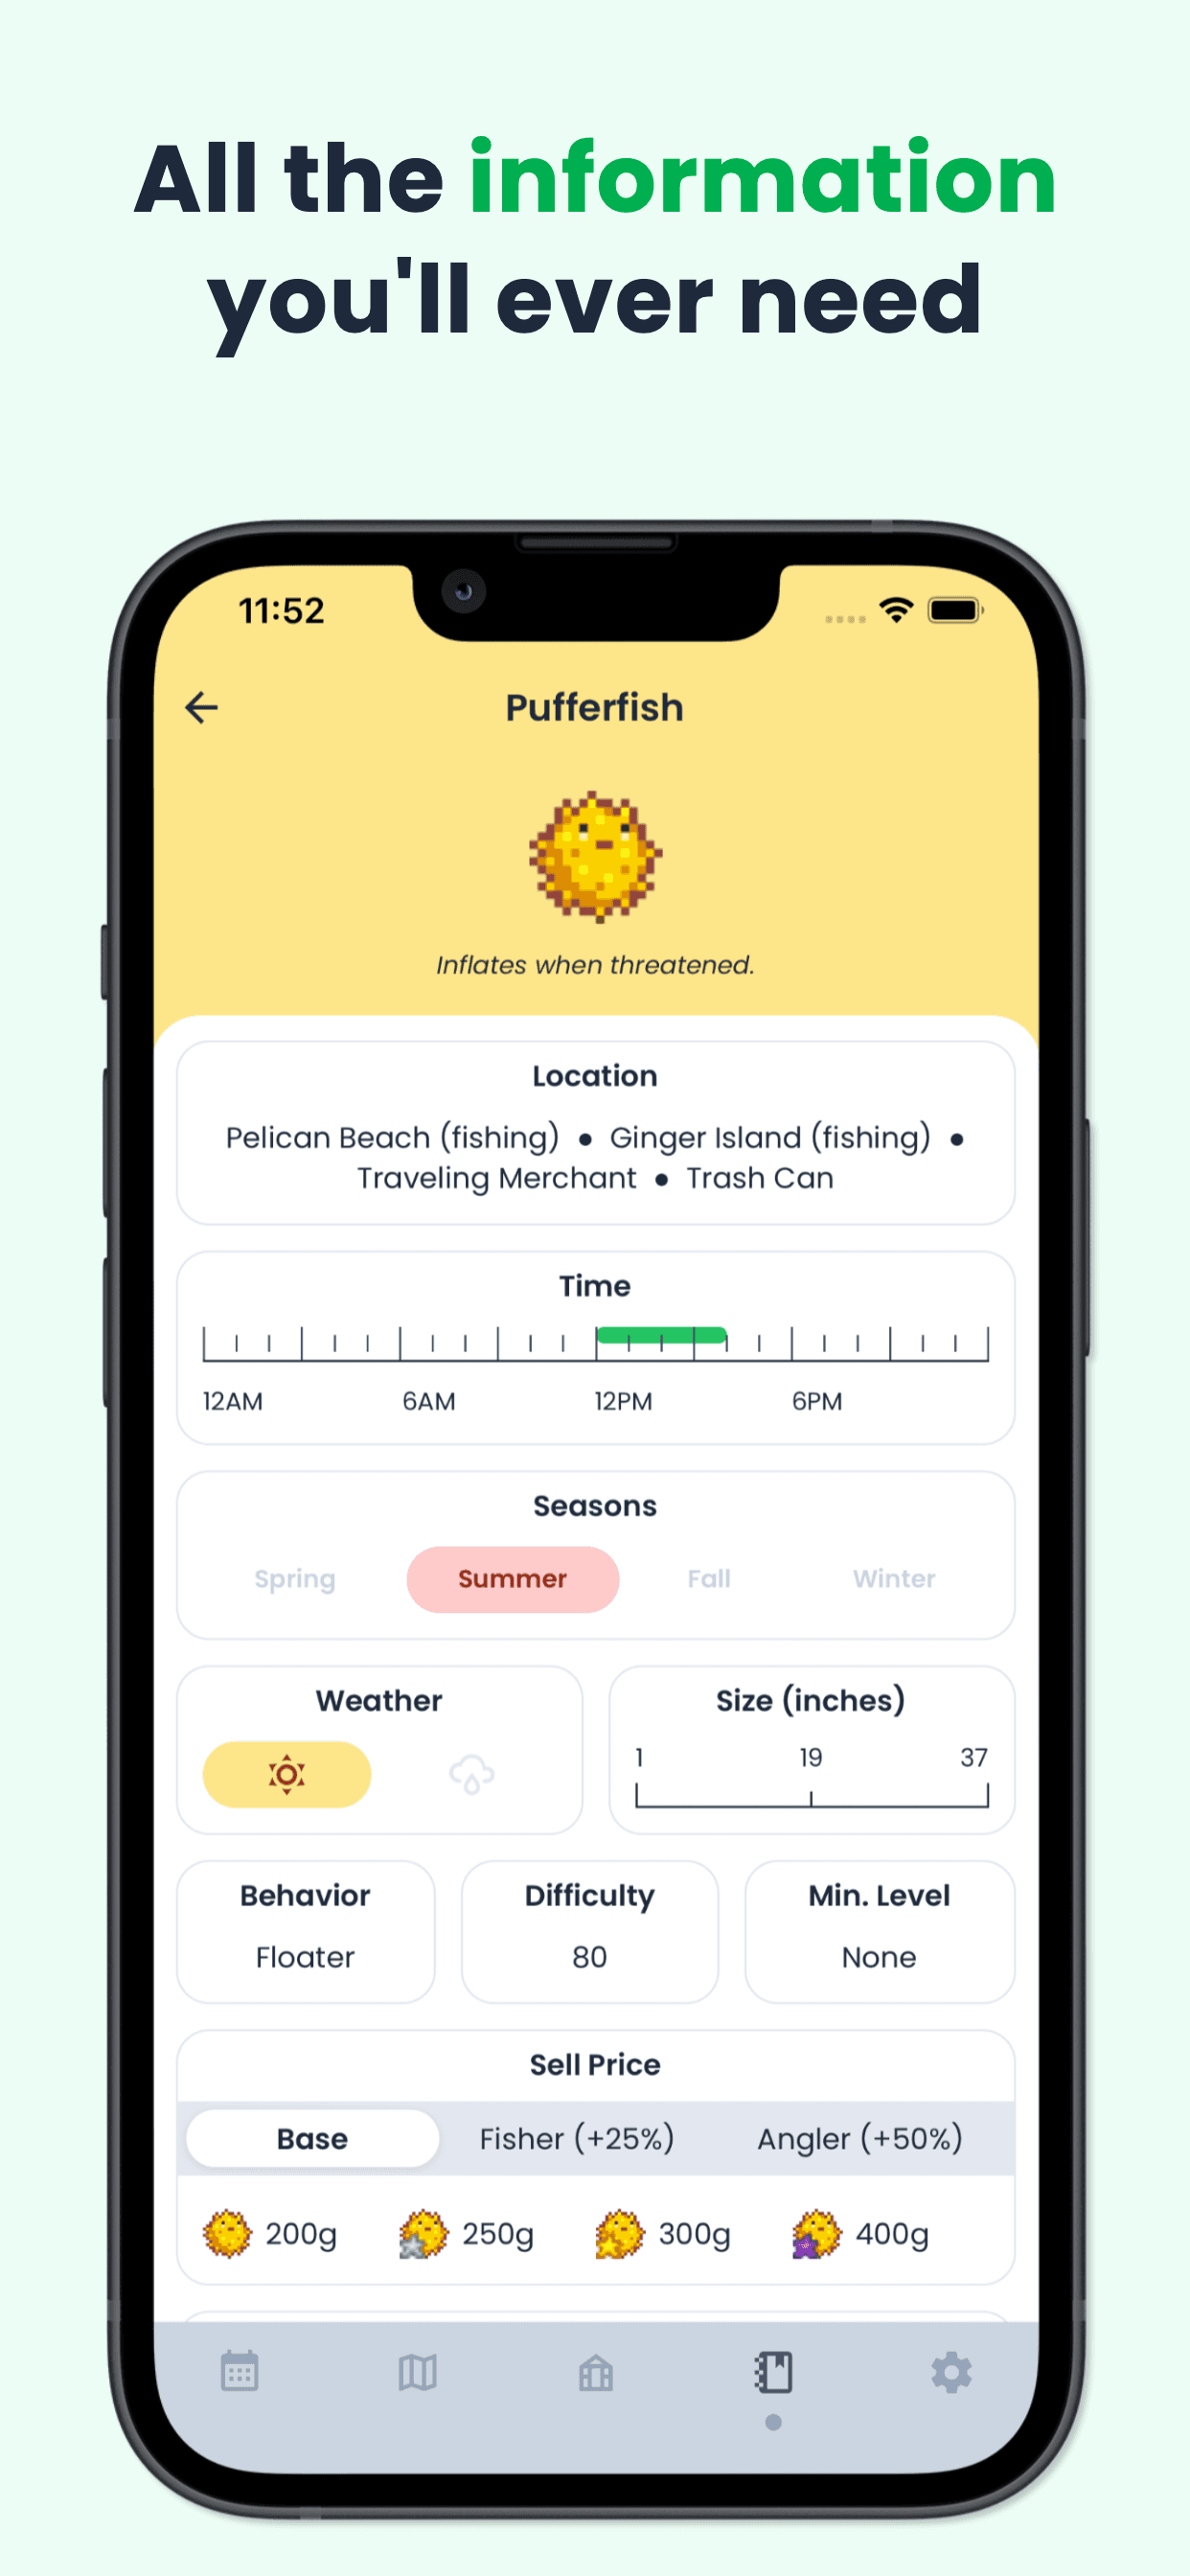
- Pufferfish — Ocean, 12pm–4pm, Summer, sunny only
- Ghostfish — Mines floors 20 & 60
- Sandfish — Calico Desert pond, 6am–10pm
- Woodskip — Secret Woods pond, 6am–2am
Reward: Dish O' The Sea (5)
Fish Tank pro tip: Rainy Fall days are the single best fishing day of the year — you can catch Walleye, Catfish, and Eel all in one evening, all of which are stuck behind rain windows you might not see again until next year.
Boiler Room Bundle Checklist
Only 3 bundles, all driven by mining progression. The reward — repaired Minecarts — lets you fast-travel between the Bus Stop, Mines, Quarry, and Town from Day 1 of completion, saving you huge amounts of walking every single day.
Blacksmith Bundle
- Copper Bar (smelt 5 Copper Ore + 1 Coal — Mines floors 1–39)
- Iron Bar (smelt 5 Iron Ore + 1 Coal — Mines floors 40–79)
- Gold Bar (smelt 5 Gold Ore + 1 Coal — Mines floors 80–119)
Reward: Furnace
Geologist Bundle
- Quartz (common, any mine floor)
- Earth Crystal (Mines 1–39, or from geodes)
- Frozen Tear (Mines 40–79, or from frozen geodes)
- Fire Quartz (Mines 80–119, or from magma geodes)
Reward: Omni Geodes (5)
Adventurer's Bundle
- 99× Slime (Green Slimes, early mine floors)
- 10× Bat Wing (bats on floors 40–79)
- Solar Essence (Squid Kids & Ghosts on deeper floors)
- Void Essence (Shadow creatures on floors 80–119)
Reward: Small Magnet Ring
Bulletin Board Bundle Checklist
The Bulletin Board has the most eclectic mix of items in the entire Community Center, pulling from cooking, foraging, fishing, farming, and animal products. Reward: +2 friendship hearts with every non-dateable villager, which saves you literal weeks of daily gifts.
Chef's Bundle
- Maple Syrup (Tapper on a Maple tree)
- Fiddlehead Fern (Secret Woods foraging, Summer only)
- Truffle (from a Pig in a Deluxe Barn)
- Poppy (Summer crop)
- Maki Roll (kitchen recipe: any fish + Seaweed + Rice)
- Fried Egg (kitchen recipe)
Reward: Pink Cake (3)
Dye Bundle
- Red Mushroom (red)
- Sea Urchin (orange — beach tide pools, after Crafts Room is complete)
- Sunflower (yellow — Summer/Fall crop)
- Duck Feather (green — from happy Ducks in a Big Coop)
- Aquamarine (blue — gem nodes or geodes)
- Red Cabbage (purple — Year 2+ from Pierre, or Traveling Cart)
Reward: Seed Maker
Field Research Bundle
- Purple Mushroom (deep Mines, or mushroom Farm Cave)
- Nautilus Shell (Winter beach foraging)
- Chub (river fish, all year)
- Frozen Geode (Mines floors 40–79)
Reward: Recycling Machine
Fodder Bundle
- 10× Wheat (Summer or Fall crop)
- 10× Hay (Marnie's shop, or harvest grass with a Silo)
- 3× Apple (from an Apple Tree)
Reward: Heater
Enchanter's Bundle
- Oak Resin (Tapper on Oak)
- Wine (any fruit in a Keg)
- Rabbit's Foot (from happy Rabbit in a Deluxe Coop, or Traveling Cart, or Serpent in Skull Cavern)
- Pomegranate (Pomegranate tree, Fall)
Reward: Gold Bar (5)
Bulletin Board pro tip: Red Cabbage is the single biggest blocker in the entire Community Center. Pierre only sells the seeds starting Year 2 — so check the Traveling Cart every Friday and Sunday. Finding it there saves you an entire in-game year.
Vault Bundle Checklist
The simplest room: no items, just gold. Total cost: 42,500g. Reward: bus repair, which unlocks the Calico Desert (Skull Cavern, Sandy's shop, Coconut, Cactus Fruit).
- 2,500g Bundle → Chocolate Cake (3)
- 5,000g Bundle → Quality Fertilizer (30)
- 10,000g Bundle → Lightning Rod
- 25,000g Bundle → Crystalarium
Vault pro tip: The Crystalarium from the 25,000g bundle duplicates any gem every ~5 days. Drop a Diamond in and you have a printer for 750g every 5 days. Pay yourself back many times over.
The Smartest Order to Complete the Community Center
If you're aiming to finish the Community Center by the end of Year 1, here's the optimal order:
- Boiler Room first. Minecarts save you time every single day for the rest of the game. The bundles are cheap if you're already mining.
- Crafts Room (foraging bundles). These items disappear with each season, so collect aggressively from Day 1 of every season.
- Fish Tank as you go. Check the seasonal/weather/time requirement for each fish the moment a season starts. Rainy Fall days are gold.
- Pantry. Plant at least one of each seasonal crop every season — the Greenhouse reward is enormous.
- Vault. Save up gold from artisan goods (Preserves Jars, Kegs) and fishing. Desert access opens up the Exotic Foraging Bundle.
- Bulletin Board last. Animal products and tree fruit take the longest to set up, so save this for when your farm infrastructure is mature.
Why Stardew Valley Tracker is the Best App for the Community Center
Tracking 30 bundles and 100+ items in your head — or on a piece of paper — is exactly the kind of thing that makes Stardew Valley feel like work instead of fun. Stardew Valley Tracker is the best Stardew Valley companion app for bundles, and it's built specifically to solve this problem.
Here's what it does that a written checklist can't:
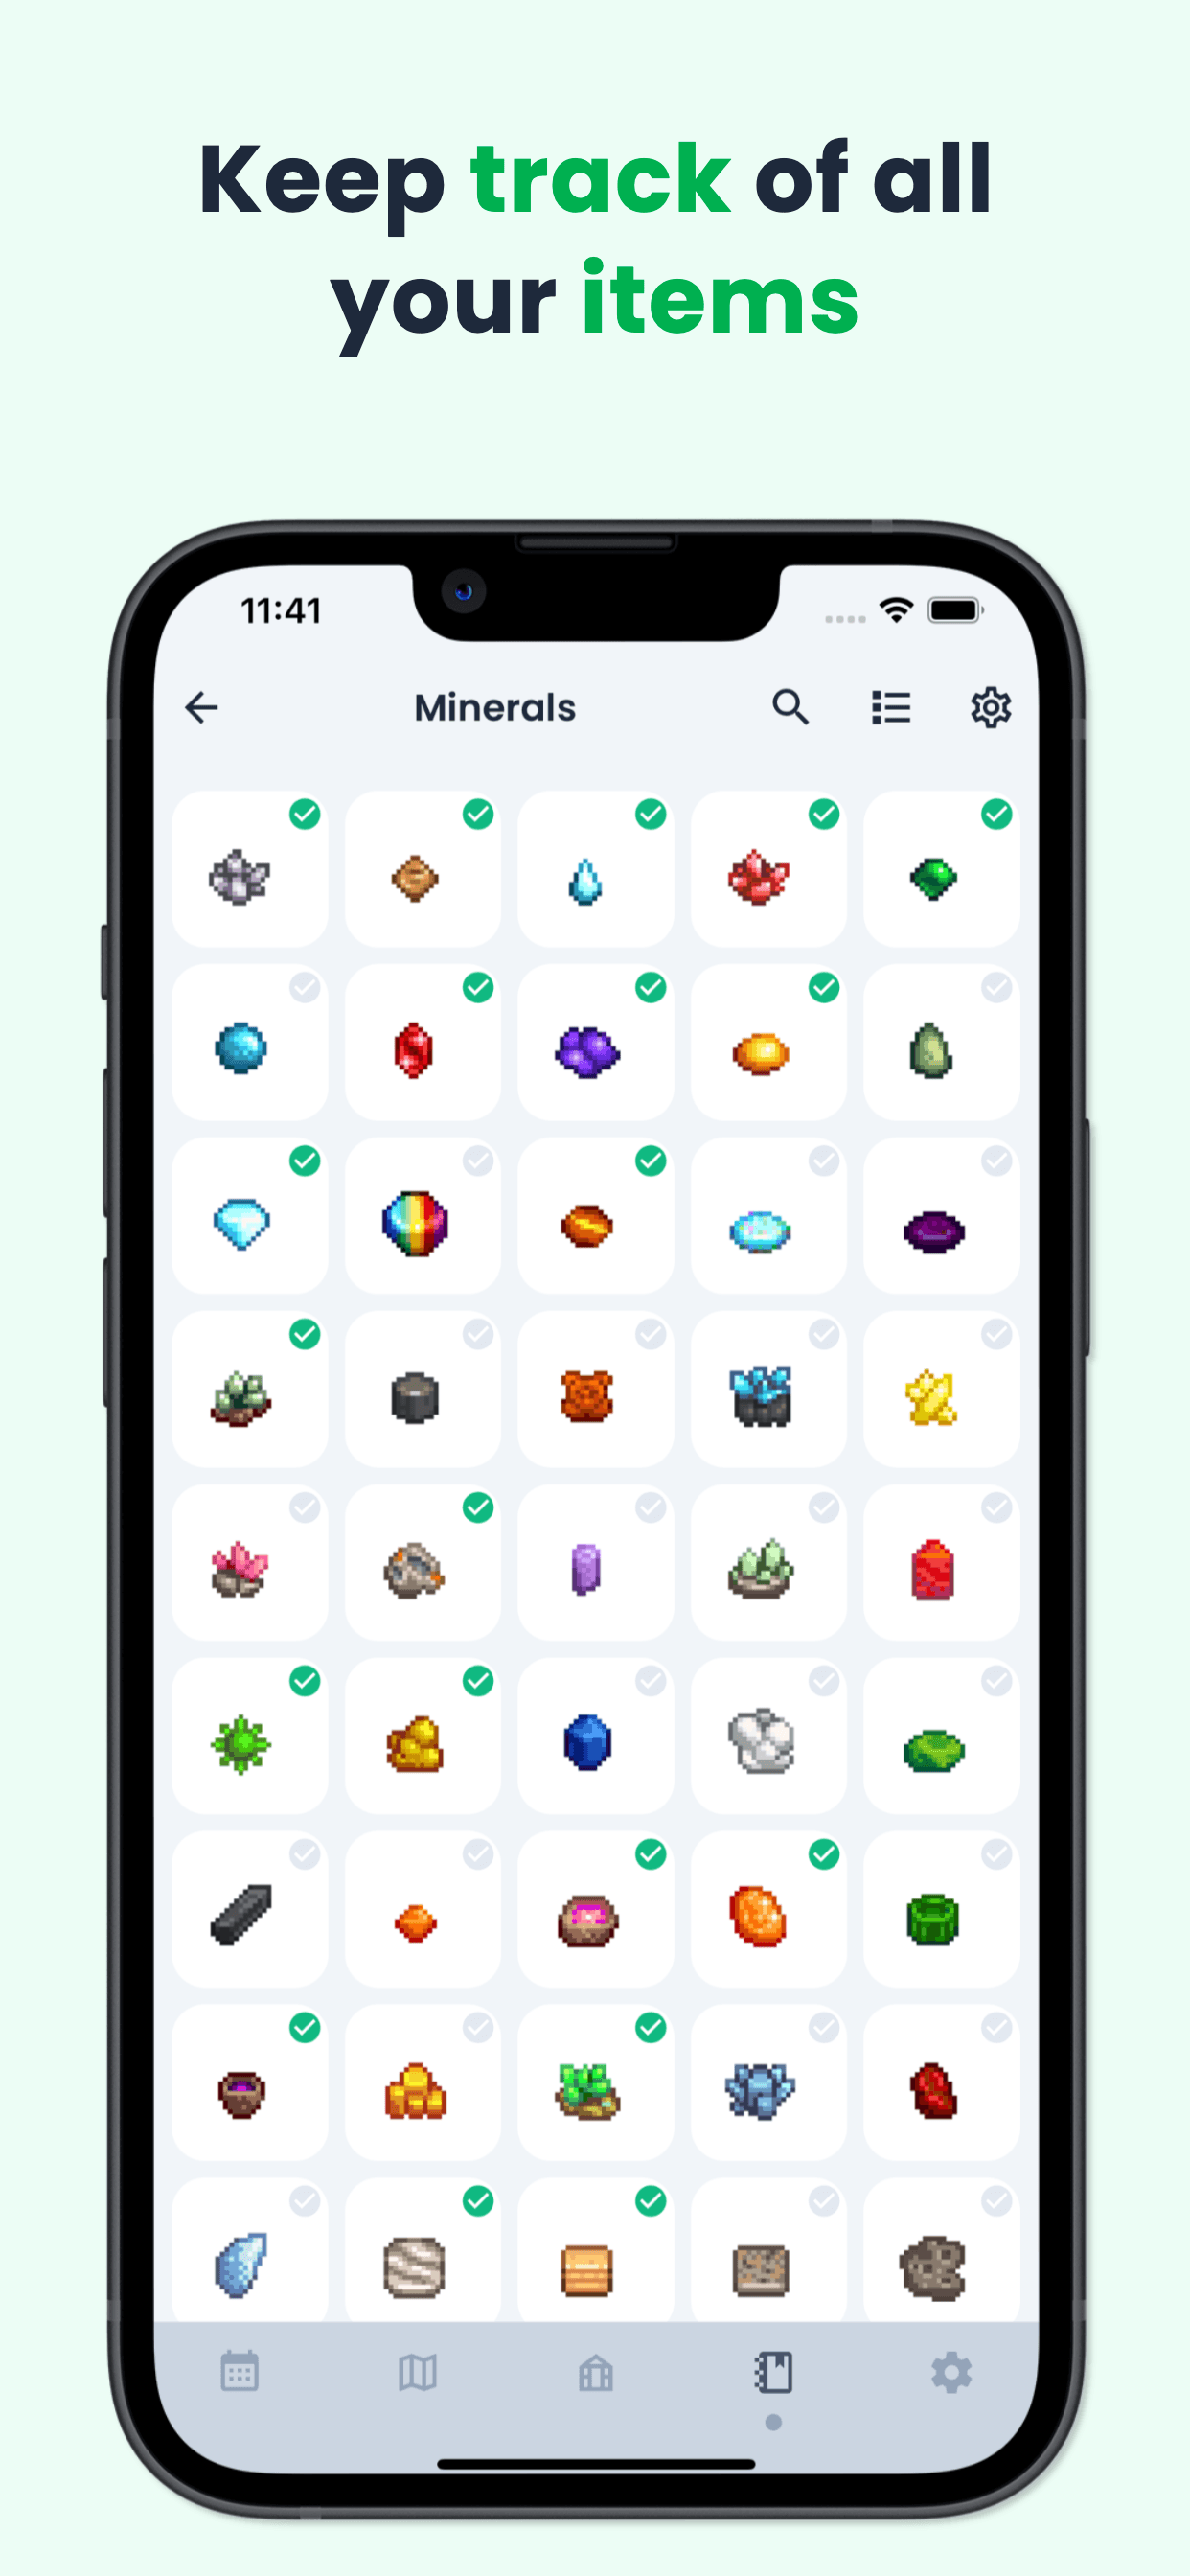
- Live bundle progress — tap an item to mark it donated, and the app tracks completion across every room.
- Seasonal alerts — get reminded when a rainy Fall window is open for Walleye, or when Spring foraging is about to end.
- Remixed Bundles support — if you're playing with the Remixed Bundles option, the app handles those alternate item sets automatically.
- Works 100% offline — no signup, no internet required, no syncing headaches.
- Free on iOS and Android — fully free to download, with an optional subscription that removes ads and unlocks extra features.
Whether you're chasing the Community Center for the first time or going for full perfection on a new save, the tracker turns the most overwhelming part of Stardew Valley into something you can actually finish. Download Stardew Valley Tracker and stop worrying about whether you donated that Bream — it remembers for you.
Start your bundle journey with confidence: pair this checklist with Stardew Valley Tracker and you'll be cutting the ribbon on the Community Center before you know it.
Frequently Asked Questions
How many bundles are in the Stardew Valley Community Center?
There are 30 bundles total across 6 rooms: 6 in the Crafts Room, 6 in the Pantry, 6 in the Fish Tank, 3 in the Boiler Room, 5 in the Bulletin Board, and 4 in the Vault. Completing every bundle restores the Community Center and unlocks rewards like the Greenhouse, the bus to the Calico Desert, and repaired Minecarts.
Which Community Center bundle should I complete first?
Complete the Boiler Room first if you're already mining — it has only 3 bundles and its reward (repaired Minecarts) saves you time every single day for the rest of the game. After that, prioritize the Crafts Room foraging bundles before each season ends, because forageable items disappear when their season changes.
What's the hardest bundle in the Community Center?
The Artisan Bundle in the Pantry is widely considered the hardest because it requires six different fruit tree fruits (Apple, Apricot, Orange, Peach, Pomegranate, Cherry), and fruit trees take 28 in-game days to mature. Plant your fruit trees as early as Year 1 to have them ready. The Red Cabbage in the Dye Bundle is also a major blocker because the seeds aren't sold until Year 2.
Can I miss a bundle if I forget a seasonal item?
Bundles themselves aren't time-limited, but the items inside them often are. If you miss a Spring Foraging item like Wild Horseradish, you'll have to wait until next Spring. The same applies to fish like the Walleye (Fall, rainy nights only) and the Catfish (Spring & Fall, rainy days only). Track seasonal items aggressively — that's exactly why we built Stardew Valley Tracker.
What happens if I choose Joja Mart instead of the Community Center?
Joja Mart gives you a faster, gold-based alternative to bundles, but you lose all the bundle rewards and the Community Center storyline. Most players agree the Community Center route is significantly more rewarding — and with a good checklist (or the Stardew Valley Tracker app) it's not even harder, just different.